So I didn't draw a single thing today. Instead I got crafty. I've been needing a brush case for a while. But I never wanted to buy one, because all the ones I saw were made just from cloth. Cloth is good and all, but not stiff enough to project bristles from incidental squishing. Apparently a lot of incidental squishing happens in my life. So I thought, what is stiff enough to protect bristles, and yet is flexible enough to be rolled up? Take a guess! It's bamboo! Bamboo placemats to be more exact.
I sandwiched a bamboo placemat (1 of 4 from the dollar bin at Le Target.) between 2 rectangular pieces of fabric. Pockets for the brushes were made from a separate piece. The flap that goes over the brushes is just fabric, just under the flap is were the bamboo backing starts.
There was a little bit of difficulty planning this project because the placemat wasn't long enough for the brushes. My longest brush was 3.5'' longer than the placemat. So I had to make sure that the bamboo placemat was towards the top in the sandwiching process.
 |
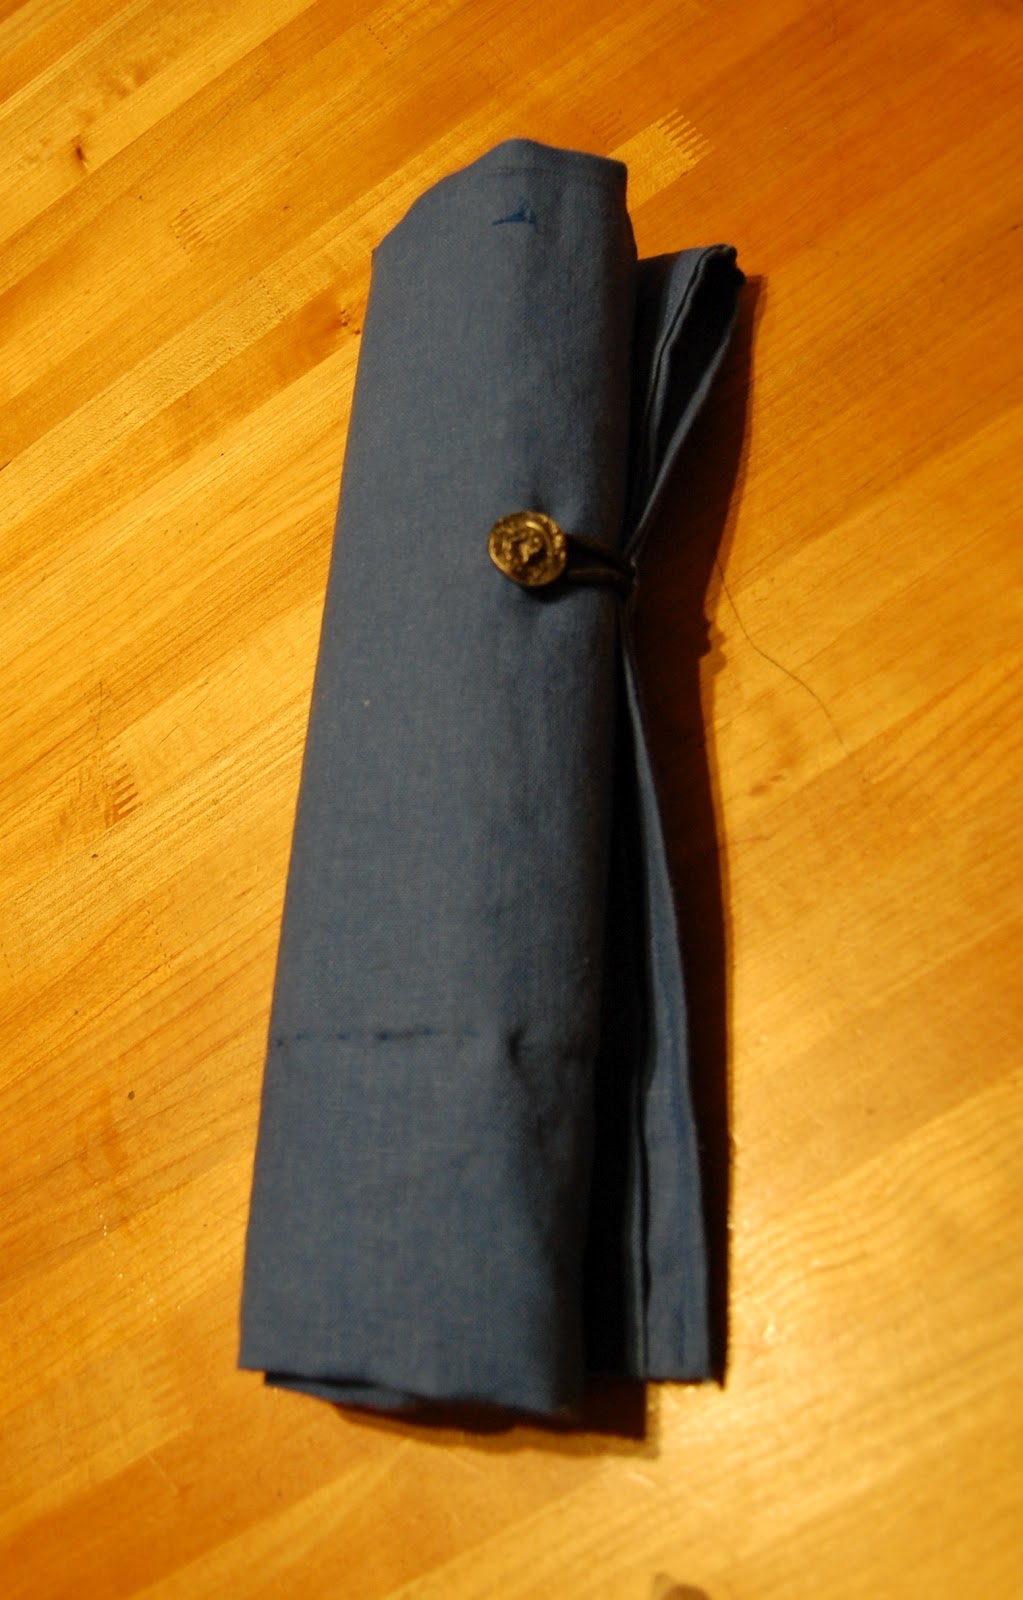
| All rolled up and protected! |
Total materials: 1 bamboo placemat, a hair tie, 1 button and some heavy duty linen. Total costs under: $10. Total time to make: about a day minus the sleeping, eating and distractions, (hey look a squirrel!). Also would have been faster if my sewing machine didn't decide to hate me.
All in all pretty satisfied with the craftiness!